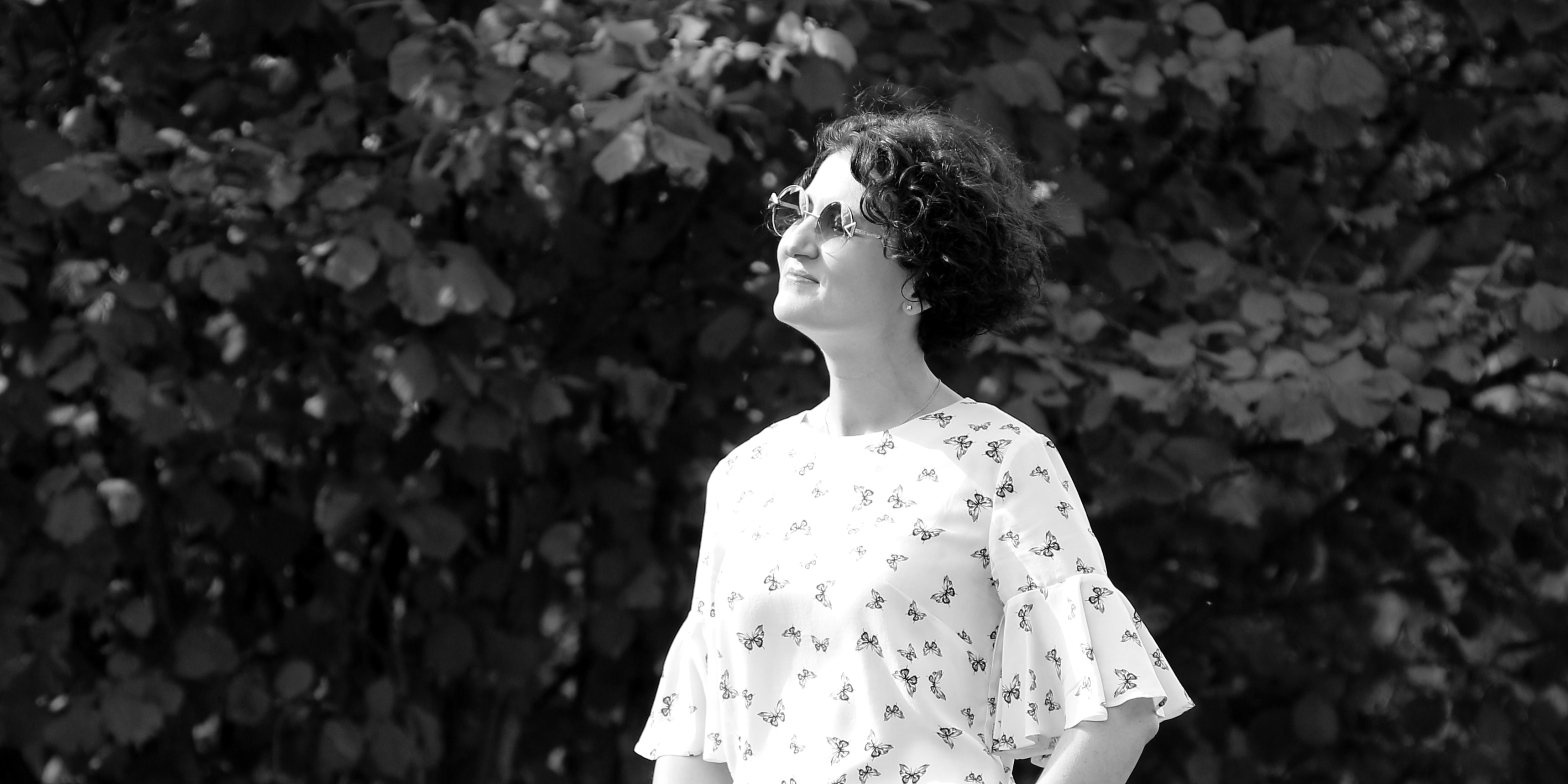
When I started this blog 3.5 years ago, I had this inextinguishable wish to share with whoever would be reading how well I did while learning to sew. My first projects were awkward and funny, but they were mine, they signified my learning curve, and I was immensely proud of them! I have always lovedContinue reading "The last post… For now"
Palm tree silk blouse
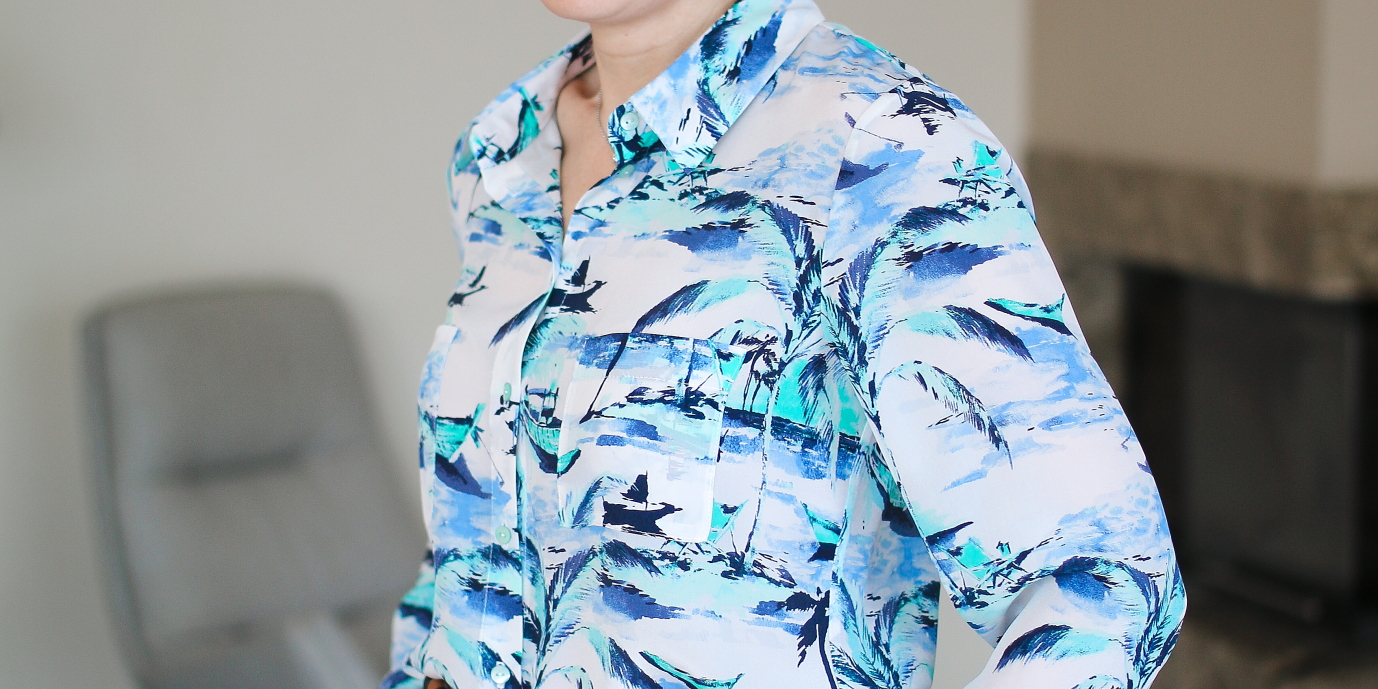
I've recently made a silk blouse. And then I made another one. Because silk blouse is such a luxurious garment to wear, and making them is satisfying beyond belief. I've never thought I'd say the latter part of the previous sentence, and yet here we are. In fact working with silk is probably one ofContinue reading "Palm tree silk blouse"
Refashion project

As I shared in my last post quite a few weeks ago, I was about to tackle a pink trench coat for this spring. I did try, very very hard, cut the fabric and all. And then I couldn't proceed any further. This spring was mostly beautiful - warm and sunny, with just a fewContinue reading "Refashion project"
Floral silk blouse
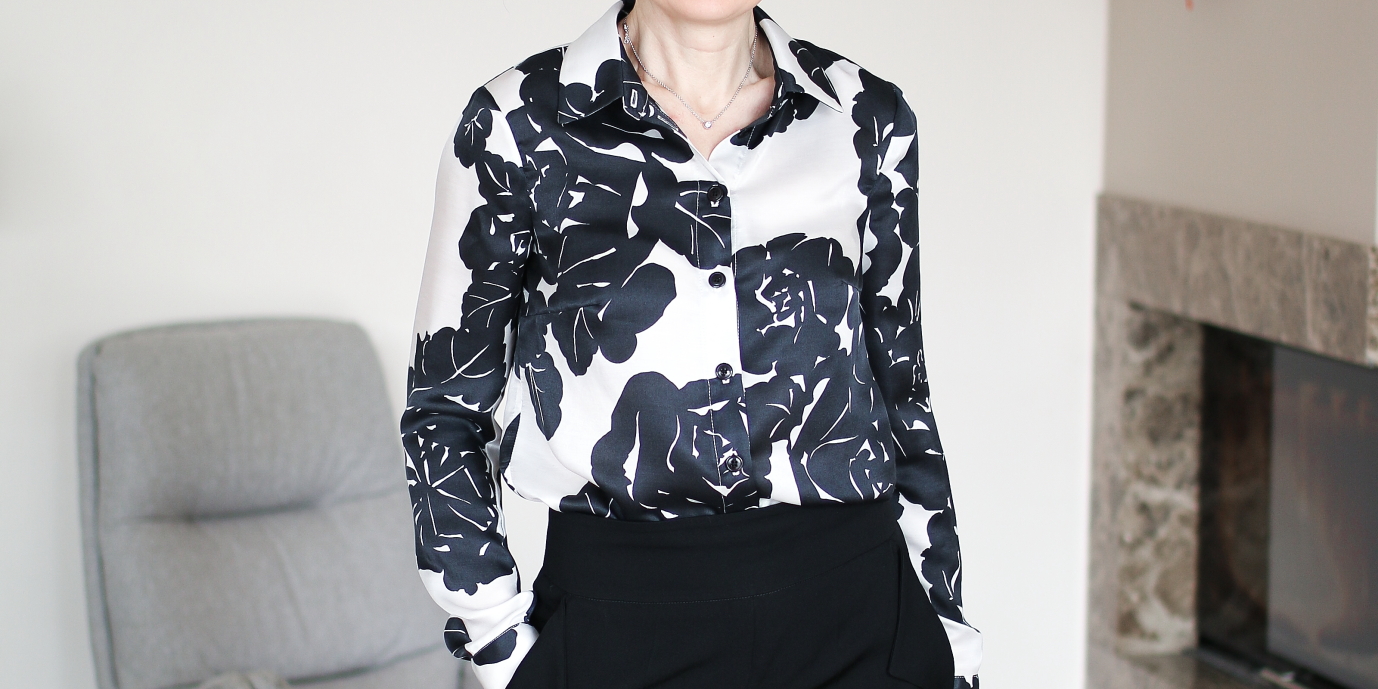
I had a tough time in choosing what to work on next after my somewhat lukewarm fluffy sweater project. My ideas were wandering from tweed jacket to jeans, then to trench coat. The spring had sort of started, and yet now quite - it would be sunny more often, but still really cold. And IContinue reading "Floral silk blouse"
Fluffy Marlo sweater
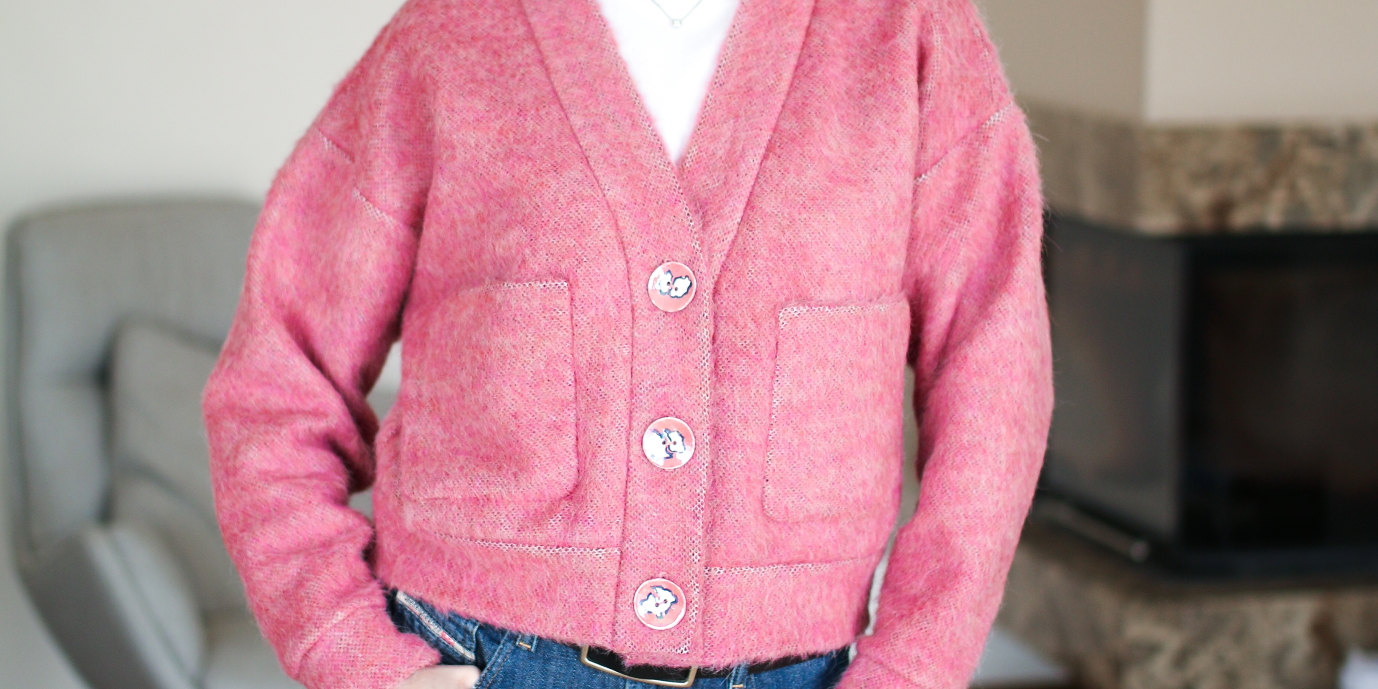
I did continue working with knits - keep trying to get to love them 🙂 While on the trip to the fabric store for the previous Nikko dress, I grabbed this wool blend knit fabric meant for sweaters. I have wanted to try out Marlo sweater pattern by True Bias for a long while, andContinue reading "Fluffy Marlo sweater"
